
The prompt builder is a prompt engineering tool from AI Builder. This tool lets makers write and test prompts for the GPT text generation model within the Power Platform. Learn how to use this in this blog post!
What is a Prompt?
A prompt is like a question or suggestion that helps get things going, especially with something like a Copilot. Talking about copilots, it’s like giving a clear instruction for a task you want completed. For example, you might tell a copilot to “add these numbers” or ask it a question like “Build me a Flow that gets data from the Account table in Dataverse when an account has an email address that has been modified”.
What is a Custom Prompt?
Using a custom prompt allows users to guide the Language Learning Model’s (LLM) behavior according to their preferences or to assign it specific tasks. By thoughtfully constructing a prompt, users can generate responses tailored to their unique business requirements. This adaptability transforms the LLM model into a versatile tool capable of addressing a wide range of tasks (similar to the example given previously of creating a Flow getting data from an Account table).
What is a Prebuilt Prompt?
Ready-made (prebuilt) prompts are pre-set and optimized prompts designed by the Microsoft team to help users easily complete common tasks. These prompts provide templates that illustrate the application of generative AI in different situations, making interactions more straightforward. These often require you to simply enter a word or phrase into a prompt that has been made previously.
Where to Start
You can either watch the walkthrough video below or scroll down for the text-based guide.
Video Guide
Text Guide
I will be focusing on Power Automate, however you can do the same for Power Apps and Copilot Studio too. The experience should be very similar.
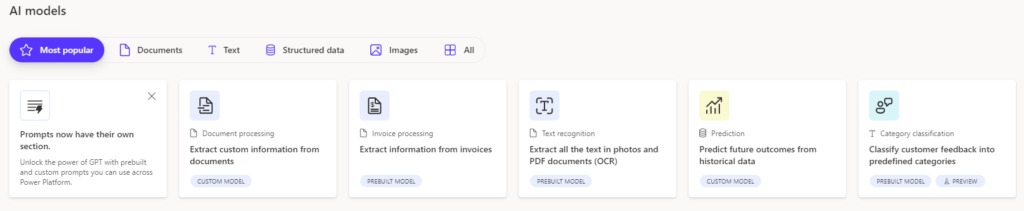
Firstly open Power Automate and select ‘Prompts’ on the left-hand pane. If you do not see prompts, select AI Models and then select ‘Prompts now have their own section’.
This is where your prompts will exist.
Building a Prompt
To build a prompt, currently you need to select ‘Build an AI Model’ button.

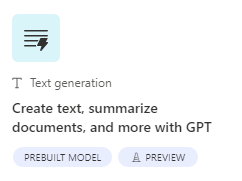
Then you need to select ‘Create text, summarize documents, and more with GPT‘
From here you can select ‘Custom Task with Custom Prompts’ and then select ‘Create Custom Prompt’
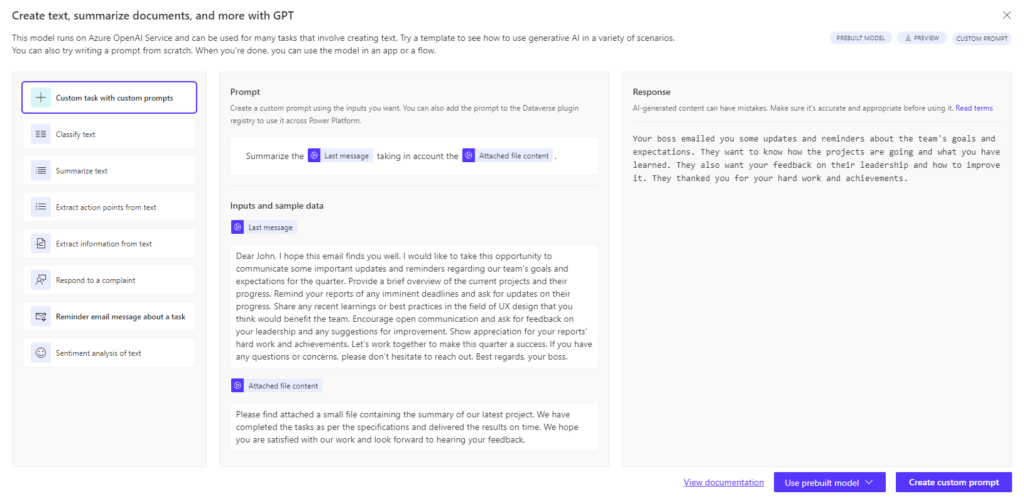
Starting from Blank or from a Template
If you wish to use a template, you can select ‘start from existing template’ and you will be shown a variety of options (shown below).
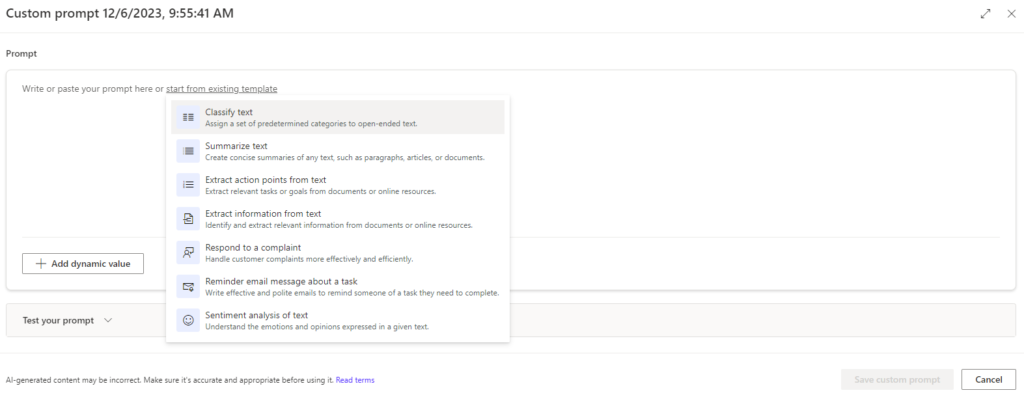
These options will prefill the prompt area with static and dynamic values that you can then modify, alternatively you can start blank and add some yourself.
Test your Prompt
I’ll use the summarize text pre-built prompt template to show you how to test your prompt.
Firstly, I’ve selected the template.
Secondly you need to open the ‘Test your Prompt’ dropdown (as shown below):
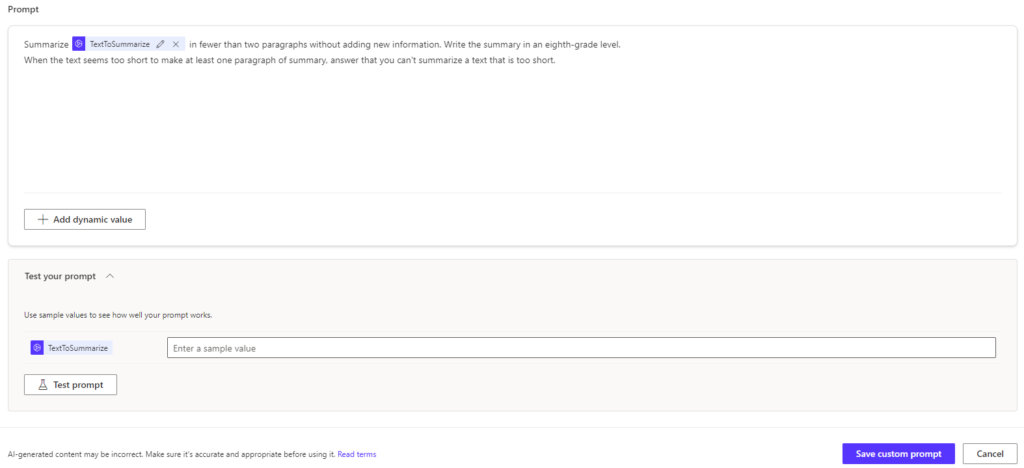
This is where you can enter your test data. The input field ‘Enter a sample value’ is where we’re going to place some sample data for our test. Effectively, any dynamic value you add will have an input field.
So, next we are going to paste an example of something we want summarized, the default will summarize into fewer than two paragraphs without adding new information at an eighth grade reading level. Therefore we should judge the result based on these aspects.
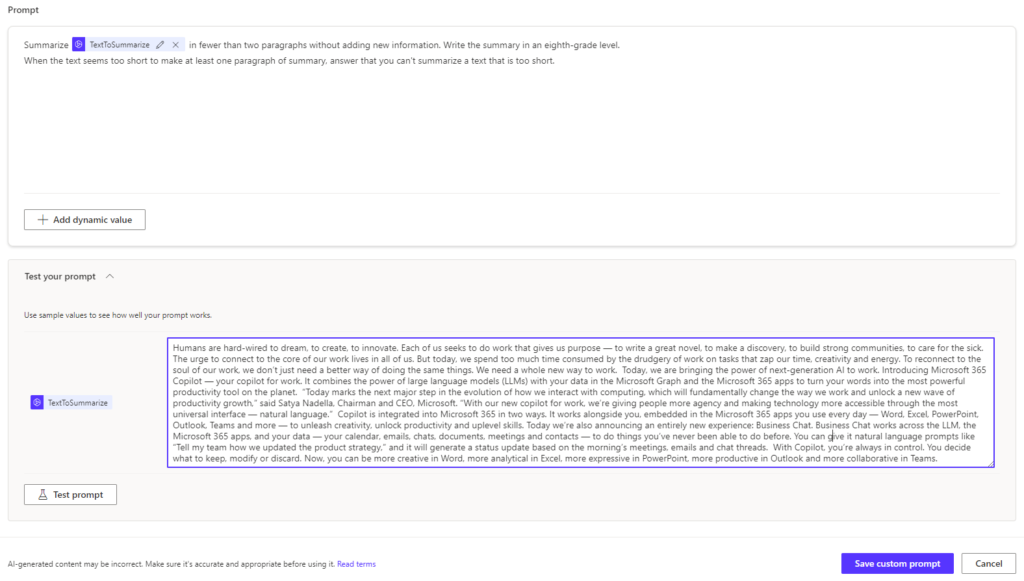
I’m going to use Microsoft’s announcement of Microsoft 365 Copilot as an example (shown below), source; https://blogs.microsoft.com/blog/2023/03/16/introducing-microsoft-365-copilot-your-copilot-for-work/
"Humans are hard-wired to dream, to create, to innovate. Each of us seeks to do work that gives us purpose — to write a great novel, to make a discovery, to build strong communities, to care for the sick. The urge to connect to the core of our work lives in all of us. But today, we spend too much time consumed by the drudgery of work on tasks that zap our time, creativity and energy. To reconnect to the soul of our work, we don’t just need a better way of doing the same things. We need a whole new way to work.

Today, we are bringing the power of next-generation AI to work. Introducing Microsoft 365 Copilot — your copilot for work. It combines the power of large language models (LLMs) with your data in the Microsoft Graph and the Microsoft 365 apps to turn your words into the most powerful productivity tool on the planet.

“Today marks the next major step in the evolution of how we interact with computing, which will fundamentally change the way we work and unlock a new wave of productivity growth,” said Satya Nadella, Chairman and CEO, Microsoft. “With our new copilot for work, we’re giving people more agency and making technology more accessible through the most universal interface — natural language.”

Copilot is integrated into Microsoft 365 in two ways. It works alongside you, embedded in the Microsoft 365 apps you use every day — Word, Excel, PowerPoint, Outlook, Teams and more — to unleash creativity, unlock productivity and uplevel skills. Today we’re also announcing an entirely new experience: Business Chat. Business Chat works across the LLM, the Microsoft 365 apps, and your data — your calendar, emails, chats, documents, meetings and contacts — to do things you’ve never been able to do before. You can give it natural language prompts like “Tell my team how we updated the product strategy,” and it will generate a status update based on the morning’s meetings, emails and chat threads.

With Copilot, you’re always in control. You decide what to keep, modify or discard. Now, you can be more creative in Word, more analytical in Excel, more expressive in PowerPoint, more productive in Outlook and more collaborative in Teams."
This is quite a lengthy bit of text, but to have a summary would make it easier to consume, so now I need to check the results. I’ve pasted this into the input box (shown below).
Results
We then need to check our results and confirm we’re happy with how the prompt is working. As you can see below, there’s no more than two paragraphs, the reading level is easy and the summary is not adding additional information, so I would deem this as a pass.

If you’re not happy, try re-wording or rearranging the sentence structure and try again until you’re happy with the results. This is an iterative process, so do not get disheartened if the results are not correct the first time.
Saving
Simply click the ‘Save Custom Prompt’ button, however, make sure you’ve named the prompt appropriately before doing so. This can be done at the top of the prompt screen.

Viewing, Sharing and a Prompt Library
You can now head back to the original prompt screen to see your prompts (shown below).

This will only show up for you unless you share this. If a prompt has been shared with you, it will appear in the ‘Shared with me’ tab.
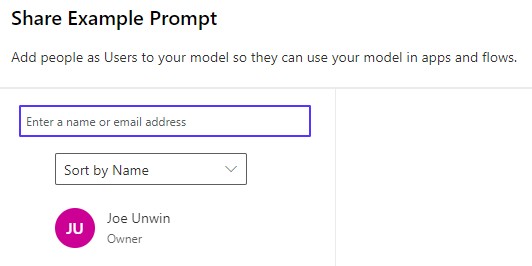
You need to select the three dots and click ‘Share’ to start the sharing process.

You then can enter a persons name or email to find them in your organization and share the prompt, just like you would do so with a Power App or Flow.