Have you ever wanted to created the illusion that your application is moving? Well parallax images have been around on the web and in applications for a long time and I wanted to experiment with this in PowerApps. This blog post will show you how to use parallax backgrounds with a six layer sample.

What is Parallax?
For those of you that are more citizen-developer oriented you may not have heard about parallax backgrounds/images. Simply put;
Parallax is the effect by which the position of an object seems to change when it is looked at from different positions
Cambridge Dictionary
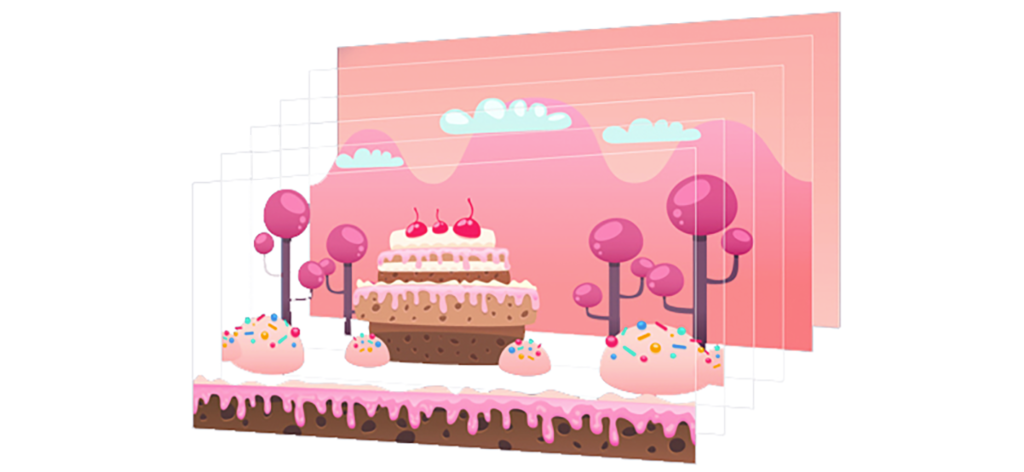
We’re using a cake scene from a cartoon styled world in this example (the background is available on itch.io) which has multiple layers listed below:
- Ground (The first layer)
- Cake
- Trees
- Clouds
- Rocks
- Sky (The last layer) – This layer never moves
You can see how these sit on top of each other from the visualisation below:

The highest layer, the first layer, would move faster and the lower layers would incrementally move slower and slower to provide the illusion of distance.
The Timer
If you followed the previous Continuous Scrolling Background with One Image on Canvas Apps post that I did we will be using a similar approach for movement here but layering it! If not, you can check it out or simply follow along in this post.
The Timer is how we get around not having a while loop without the need for dummy tables for the ‘forall’ method. So, firstly, we need to add a timer onto the screen where you want to have the parallax background. Once added rename it to ‘Background_Timer’. Then what you need to do is hide this timer, so turn visibility off on the right-hand panel.
The Background Layers
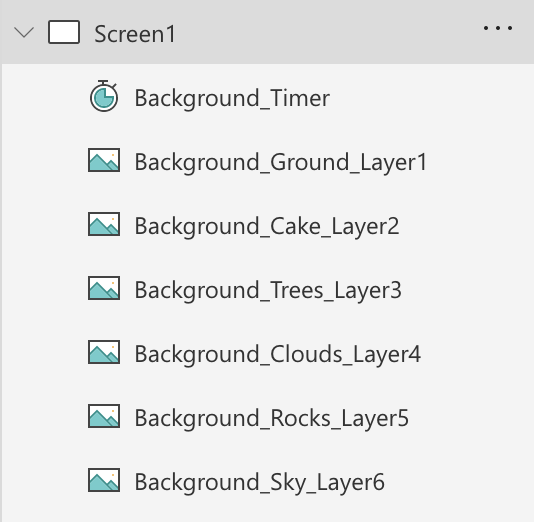
Now, we need to add the background images and order them correctly. Therefore, add all of the images and name each of them Background_LAYERNAME_LayerNUMBER replacing LAYERNAME with the name of the layer and NUMBER with the layer number, You can see an example of this in the image below:

The Movement Calculation
Now, as we discussed before the further the layers are down the list the slower they need to move to appear as if they were in the distance. We need want to effectively user the timer to provide a continuous change to the ‘X’ of each background image but in doing so we need to convert the millisecond number to a pixel number.
Select each of the background images individually and select the ‘X’ from the object property dropdown on the top left. Then enter the calculation below:
-(Background_Timer.Value/15)
This next section is repeated from the previous blogpost for those that have not read it; We want to move the image left to we need to have the X number be a minus number. Therefore the calculation starts with a ‘-‘. Then we open parenthesis () as we want this calculation to be done before we place the minus sign onto it.
We take the Background_Timer.Value which will return in milliseconds and divide that by a certain factor to get the pixel amount per second value.
Now we can increase the divided by number to provide a slower pixel transition. We can also move the initial place of the image by adding a number to the Background_Timer value (see the Cake from the number below).
These are the numbers I’ve used for my layers:
- Ground: -(Background_Timer.Value/15)
- Cake: -(500+(Background_Timer.Value/30))
- Trees: -(Background_Timer.Value/25)
- Clouds: -(Background_Timer.Value/90)
- Rocks: -(Background_Timer.Value/250)
- Sky: This layer never moves
Example

